There are many types of tools which I have used to correct the picture which I have selected to be corrected. I will show one by one of what tool I have used to correct the selected picture.
Crop Tool:

First, press "File" and "Open" to select a picture.

Then, press The Crop Tool which is below The Quick Selection Tool.

Click the mouse and hold it. Drag to the end of the picture.

Then, rotate the white background to the position of the picture.

After rotating it, make the white background as the same size of the picture.

Press right click and select crop.
The Rectangular Marquee Tool:

Zoom the picture to the area of the cap. To zoom in, press "Ctrl" and "+". After that, press The Rectangular Marquee Tool which is below The Move Tool.

Highlight the cap area by using The Rectangular Marquee Tool.

Press "Image" + "Adjustments" + "Replace Color".

Press "Add to Sample" which is beside The Eyedropper Tool. Then, click it at the cap.

Click at the Hue bar and drag it to choose the color which you want to apply to the cap. Then, press OK.

After that, press "Ctrl" and "-" to zoom out. Then, press at the box to remove the selection area of the cap.
The Clone Stamp Tool:
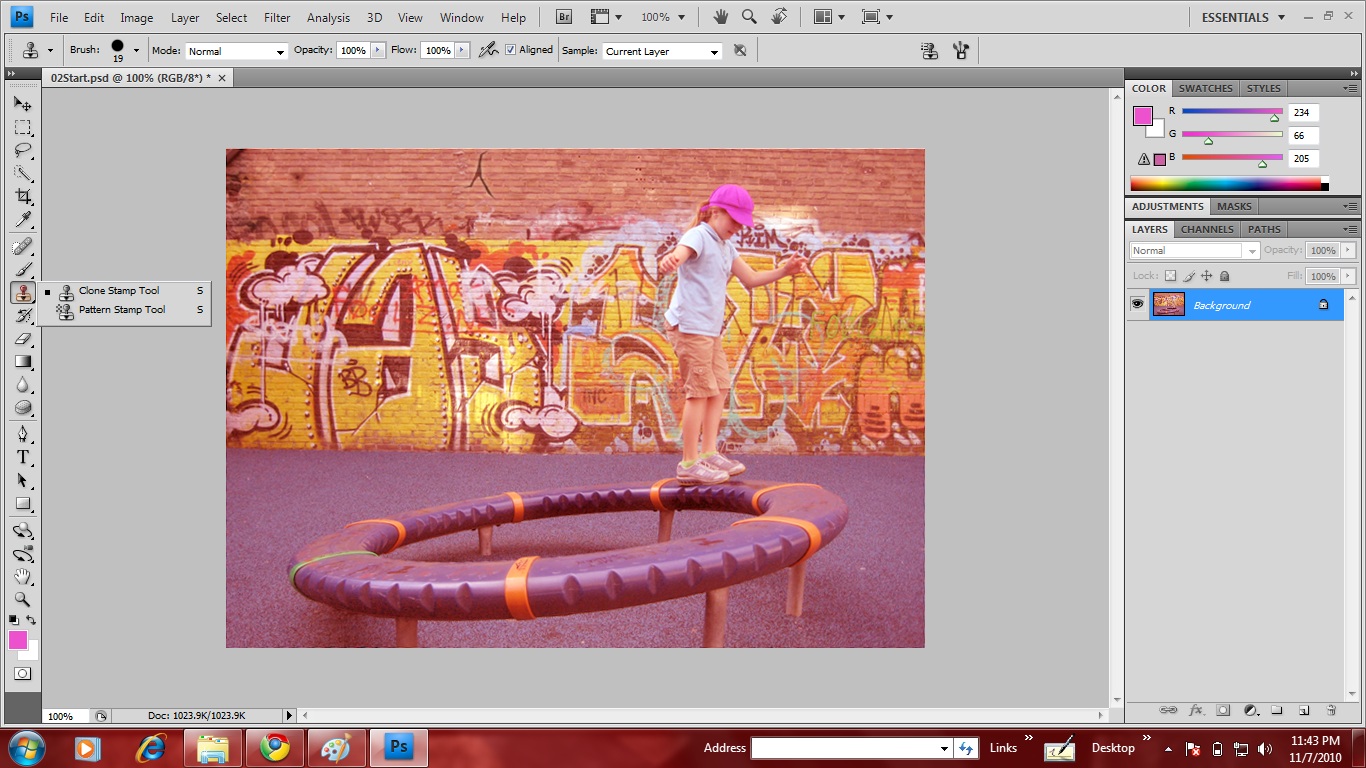
Press The Clone Stamp Tool which is below The Brush Tool.

Select the area which you want to clone. I want to remove the words which is above the Graffiti. It is annoying. So, I clone the wall by clicking "Alt" and left click at the same time at the selected area. Then, remove the words by clicking the mouse and move it around until the words is removed.

You can even change the size of The Clone Stamp Tool by changing the diameter of The Clone Stamp Tool. Small diameter can be used to clone the area which is small and hard to be clone.
The Sponge Tool:

Click The Sponge Tool which is below The Blur Tool.

Change the mode to Saturated. Then, by using The Sponge Tool, click at the Graffiti and move it around. You will notice the changes of the color of Graffiti.

After playing around with The Sponge Tool, press "Image" and "Auto Color". This is to ensure the adjustment of the color changes that we made on the picture.

Then, press "Image" and "Auto Contrast" to adjust the contrast color.

After that, press "Image" and "Auto Tone" to adjust the tone color of the picture. You will be able to see the changes after pressing the Auto Color, Auto Contrast and Auto Tone.
The Healing Brush Tool:

Press The Spot Healing Brush Tool which is below The Eyedropper Tool. Then, press right click and select The Healing Brush Tool. After that, click it at the top left of the picture and move it around. It is like highlighting and coloring the whole picture. This Healing Brush Tool is used to fix a picture.


After completing it, press "File" and "Save As" to save the edited picture. You can save it as Photoshop (*.PSD;*.PDD) format if you want to edit the picture next time or save it as JPEG (*.JPG;*.JPEG;*.JPE) format if you want to have the picture to be as a wallpaper.


This is the picture which I have edited it and save it as JPEG format. The 1st picture shows the picture which is before being edited and the 2nd picture shows which is after being edited.
No comments:
Post a Comment